Efficient inventory management is crucial for the success of any business to ensure smooth operations, meet customer demands, and optimize profitability.
In this blog post, we will explore how to perform Inventory Adjustments in Odoo 16. But before that, let’s explore why businesses need to perform inventory adjustments, their impact on their business and specifically balance sheets.
Reasons for Inventory or Stock Adjustments?
Unforeseen circumstances such as theft, damage, or discrepancies between recorded and physical stock levels can lead to inaccuracies in inventory data. To address these discrepancies, businesses perform Inventory Adjustments.
How Does Inaccurate Inventory Affect Income Statements?
The cost of goods sold is a key component of the income statement, representing the direct costs associated with producing or acquiring the goods that are sold. Either an overstatement or understatement of COGS affects gross profit and net income.
Additionally, inaccurate inventory can impact multiple income statement components, including gross profit, net income, tax calculations, and financial ratios.
How to Perform Inventory Adjustments in Odoo 16?
1. Access Inventory Adjustments:
Log in to your Odoo 16 instance and go to the Inventory app. From the main menu, navigate to Inventory > Inventory Adjustments.
2. Create a New Inventory Adjustment:
Click on the “Create” button to start a new inventory adjustment.
Note: At this stage, the Inventory Count is just recorded but not yet applied, which means that the stock quantity is not yet updated to match the newly Counted Quantity.
To match the stock qty and counted qty, click on the “Apply” button.
1. Select Location:
Choose the appropriate location for the Inventory Adjustment from the “Location” field. This indicates the physical location where the adjustment will take place.
2. Add Products:
Click on the “Add a product” button to add the products you want to adjust. You can search for the products by name, internal reference, or barcode.
3. Enter Quantity:
In the “New Quantity” column, enter the adjusted quantity for each product. If you want to reduce the quantity, enter a negative value.
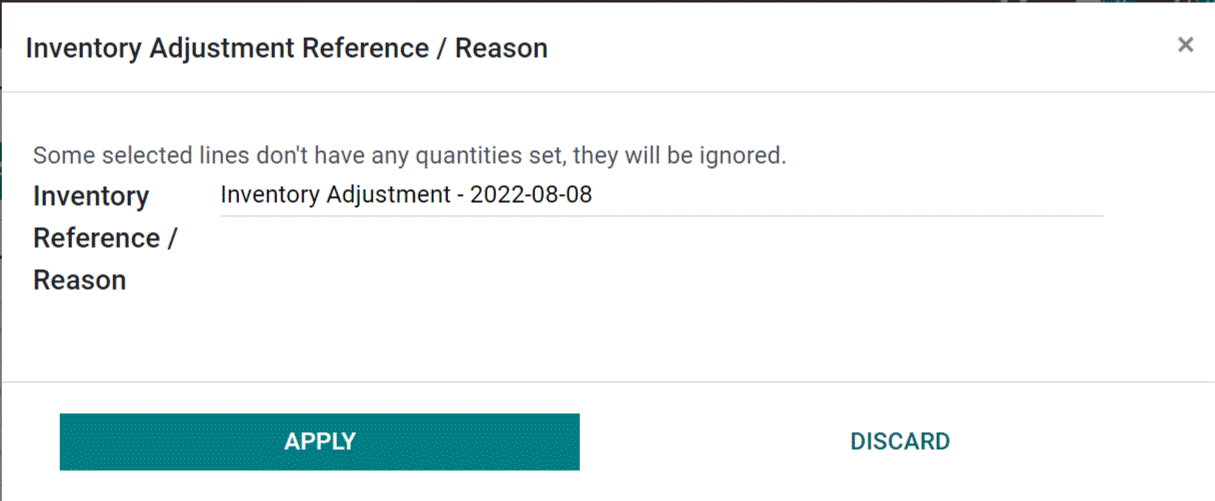
4. Reason for Stock Adjustments:
Provide a reason for the inventory adjustment in the “Reason” field. This helps in tracking and documentation purposes.
5. Validate the Adjustment:
Once you have entered the necessary details, click the “Validate” button to validate the inventory adjustment. Odoo will check if the adjustment is correct and update the inventory accordingly.
Optional Steps: Depending on the adjustment type, you may have additional options available. For example, you can specify the scrapping location and reason if you are scrapping items.
By following these steps, you can perform Inventory Adjustments in Odoo 16. However, it’s important to note that steps may vary slightly depending on any customization or modules installed in your Odoo instance.